
There is a single widget snippet and it is the same for every platform. Get it from Settings → AI Tools → AI Chat Agent → Installation Code and click Copy.
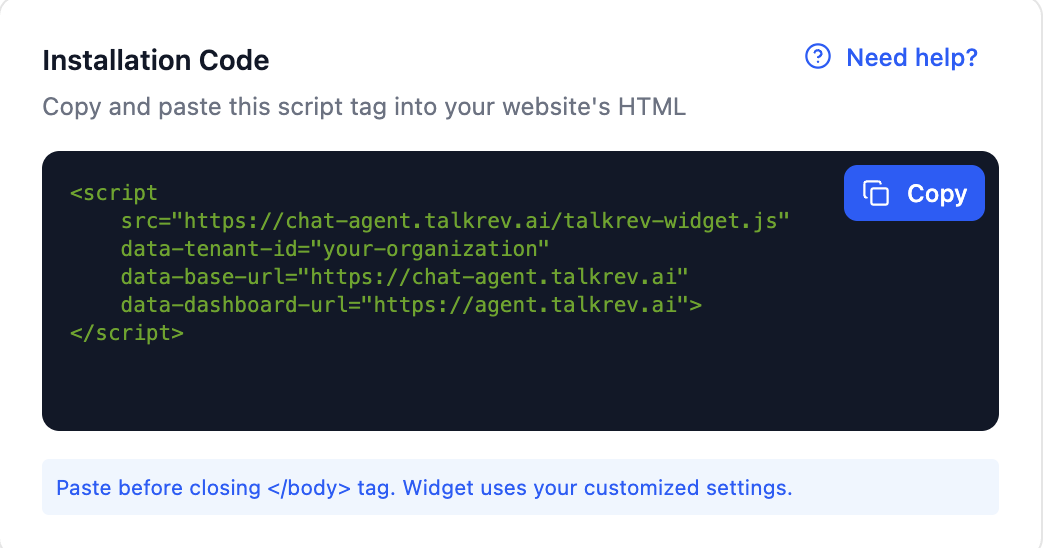
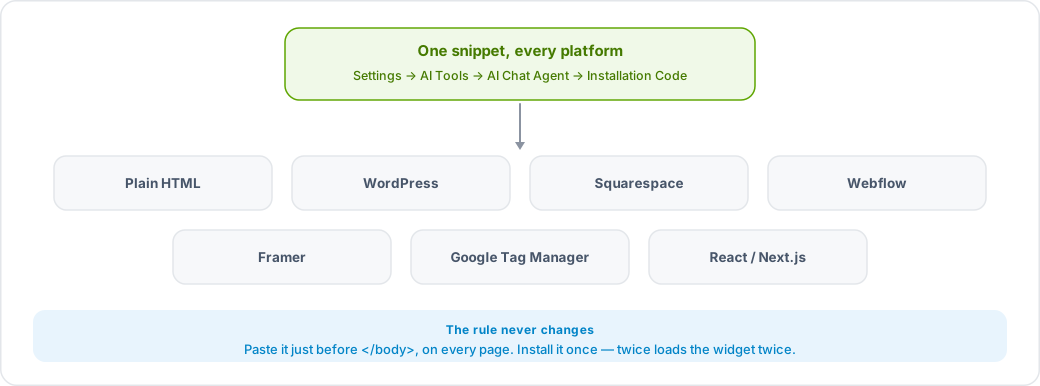
The rule never changes: paste it just before the closing </body> tag, on every page of your site.
Plain HTML
Paste the snippet before </body> in each HTML file, or once in a shared footer include if your site uses one.
WordPress
Any of these work. Pick one — don't do several, or the widget loads twice.
- WPCode plugin (recommended) — add a new snippet, type HTML, location "Site Wide Footer".
- Insert Headers and Footers plugin — paste into the footer box.
- Elementor, Divi or Bricks — use the theme builder's custom code / body-end area.
- Theme editor — paste before
</body>infooter.php. Note this is lost when the theme updates. - Child theme — add it to the
wp_footerhook infunctions.php.
WordPress.com (the hosted version) requires a Business plan to add custom code.
Squarespace
Settings → Advanced → Code Injection → Footer. Requires a Business plan or higher.
Webflow
Project Settings → Custom Code → Footer Code, then Save and re-publish the site. The change only goes live after a republish.
Framer
Site Settings → General → Custom Code → End of <body> tag, then Publish.
Google Tag Manager
Create a Custom HTML tag, paste the snippet, set the trigger to All Pages, then publish the container.
React and Next.js
With the App Router, add it to app/layout.tsx:
import Script from 'next/script';

<Script
  src="https://chat-agent.talkrev.ai/talkrev-widget.js"
  data-tenant-id="your-organization"
  data-base-url="https://chat-agent.talkrev.ai"
  strategy="afterInteractive"
/>
With the Pages Router, put the raw <script> tag in _document.tsx.
If your site uses a Content Security Policy
Allow chat-agent.talkrev.ai in both script-src and connect-src. If only one is allowed, the bubble either never loads or loads and cannot connect.